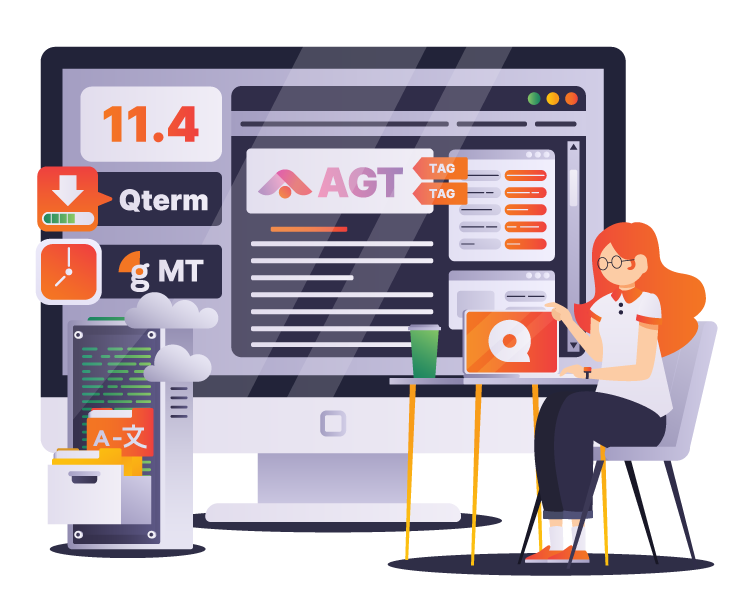
memoQ.11.4 is now available!
Read moreNew features you might have missed!
Read moreDiscover how it empowers you to achieve global success with custom machine translation models.
memoQ 11.4 has arrived with new features and updates designed to improve productivity and simplify workflows. Try the new memoQ editor, explore the latest updates in Qterm, and take advantage of new project management and automation tools!
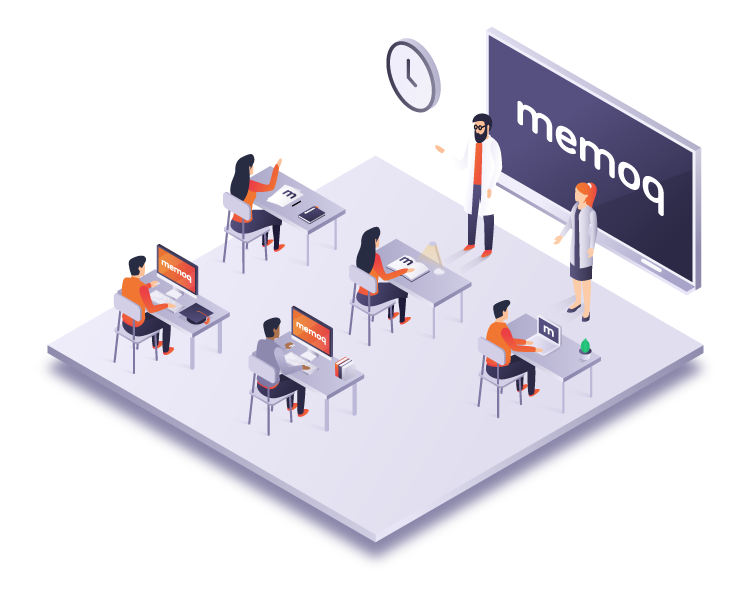
Welcome to memoQ academy! Learn how to prosper in the premium translation market.
Start browsing some of our free or paid courses and tutorials or enroll in our Translator or Project Manager certification courses!
Explore all our latest eBooks and learn about memoQ technology, industry news and much more!


Manage and automate your localization processes on a global scale with the memoQ translation management system. Enterprises appreciate tailor-made memoQ features such as flexible workflow management, easy project tracking, automated quality checks, advanced reports, customizability, connectivity, and much more.


Language service providers handle a large number and variety of files and projects daily. memoQ is a stable technology providing a collaborative translation environment that facilitates and speeds up translation processes with advanced features.
Whether you translate or review translations, memoQ translator pro is specifically designed by translators for translators to effectively support your day-to-day tasks.

Unleash your game’s full potential using the memoQ translation management system. Enter new foreign markets with localized content to reach a broader audience and increase your revenue.

Life science localization requires just as much attention as the services delivered by the industry itself. When lives are at stake, there is no room for error.

The demand for audiovisual (AV) content is soaring. Translation technology helps AV translators increase productivity, improve translation quality, and meet tight deadlines.
Team Lead Trade & Product Marketing at ASUS

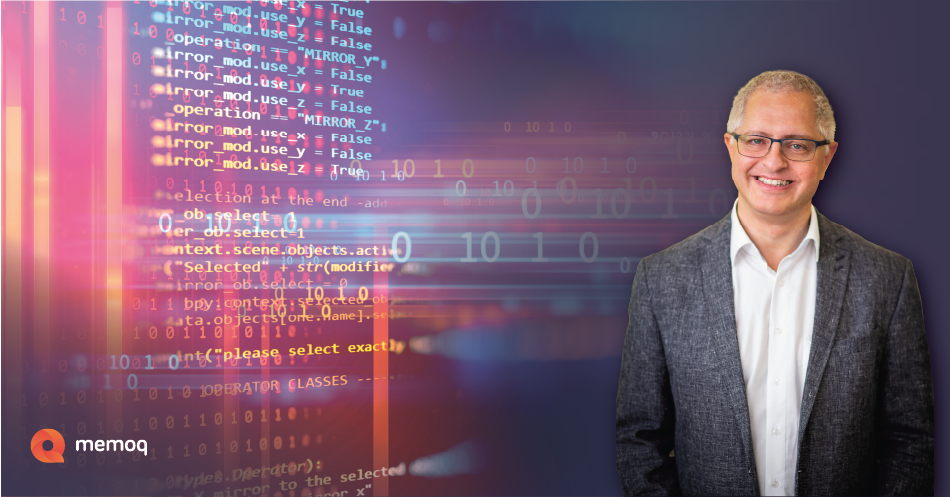
“At memoQ, we live to provide our customers with a translation management solution that they can rely on every day, every minute. This is not possible without the closest attention to quality and information security. These are the cornerstones of customer focus. We keep them under the closest control, and we are proud to prove this by independent reports.”
Balázs Kis
CEO, memoQ